Deck Railing Installation:
A Step-by-Step Guide to a Sound, Code-Checked Rail
This guide walks you through the full railing job: confirming the deck can carry a railing, setting posts, attaching top and bottom rails, fitting balusters, and finishing the hardware. It also shows where a licensed crew should take over.
Deck Bros reports 2,500+ decks built and repaired and a 4.9/5 rating from 550+ reviews.
Before You Start: Confirm the Deck Can Take a Railing
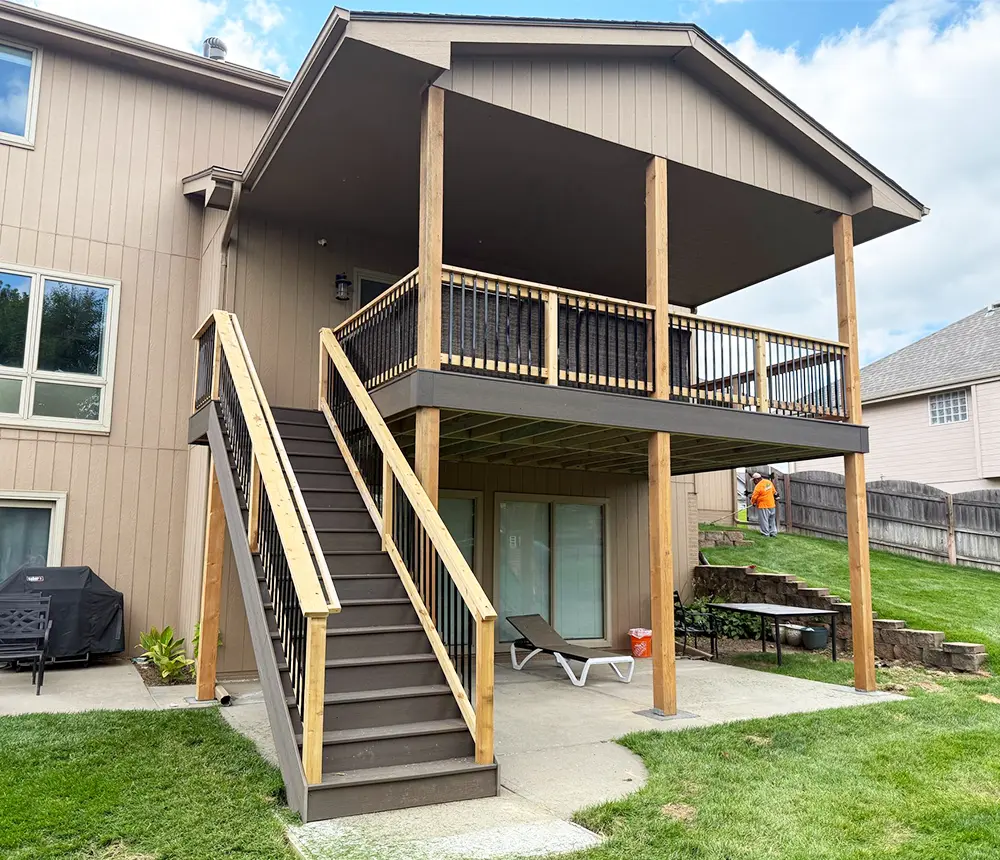
Most railing problems start before the first post goes in. Check the deck first, then plan the job.
Structure Integrity
The deck boards, framing, and rim are solid with no soft spots or rot.
Post Accessibility
Post locations are marked on the deck surface and reachable from below for fastening.
System Selection
The railing system type is confirmed: composite, aluminum, or wood.
Hardware Verification
Rail, post, and baluster hardware matches the railing manufacturer's installation instructions.
Code Compliance
Local railing and guard requirements are confirmed with the local building department.
Check the Framing and Connection Points
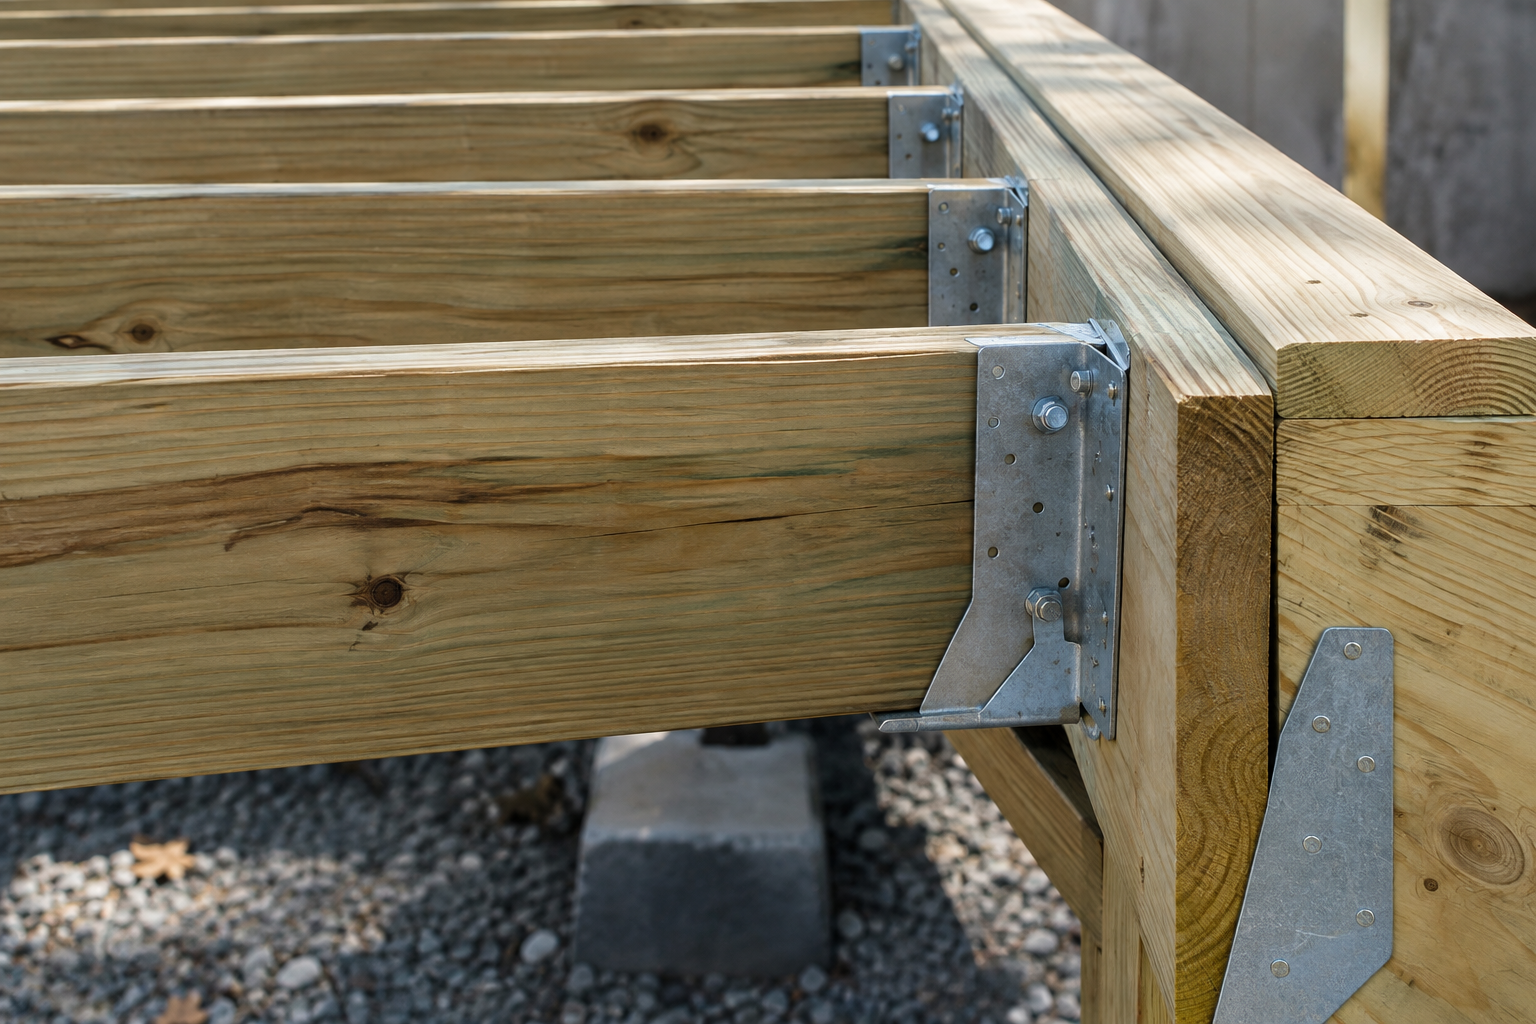
Railing loads are carried by the posts and the framing under them. Walk the deck and look for loose boards, cracked or split framing, and soft wood at the rim and post bases.
Push on the framing where the posts will go. If it moves or feels spongy, stop and have the structure evaluated before adding a railing.
Deck Bros offers deck repair with a free condition assessment, safety evaluation, and repair estimate.
Mark Post Locations
Mark each post location along the outside edge of the deck.
Set Finished Height
Measure the finished height of the top rail from the deck surface and mark it on each post location.
Verify Spans
Check the spacing between posts against the railing manufacturer's maximum span and your local code.
Check Alignment
Snap a level line between the marks to check that the layout runs straight.
Measure and Mark the Layout
Mark post positions, the height of the top rail, and the spacing between posts before you cut anything. Set heights and spacing from the requirements in your local residential code.
Requirements vary by city and county, so write down the numbers you confirm and use them for every measurement.
Install the Posts
Fix each post to the deck framing with the connection method the railing manufacturer specifies. Use hardware rated for outdoor use and for the post material.
- Set each post and check for level on two faces.
- Fasten with specified bolts/brackets in sequence.
- Recheck plumb after final tightening.
Attach the Rails
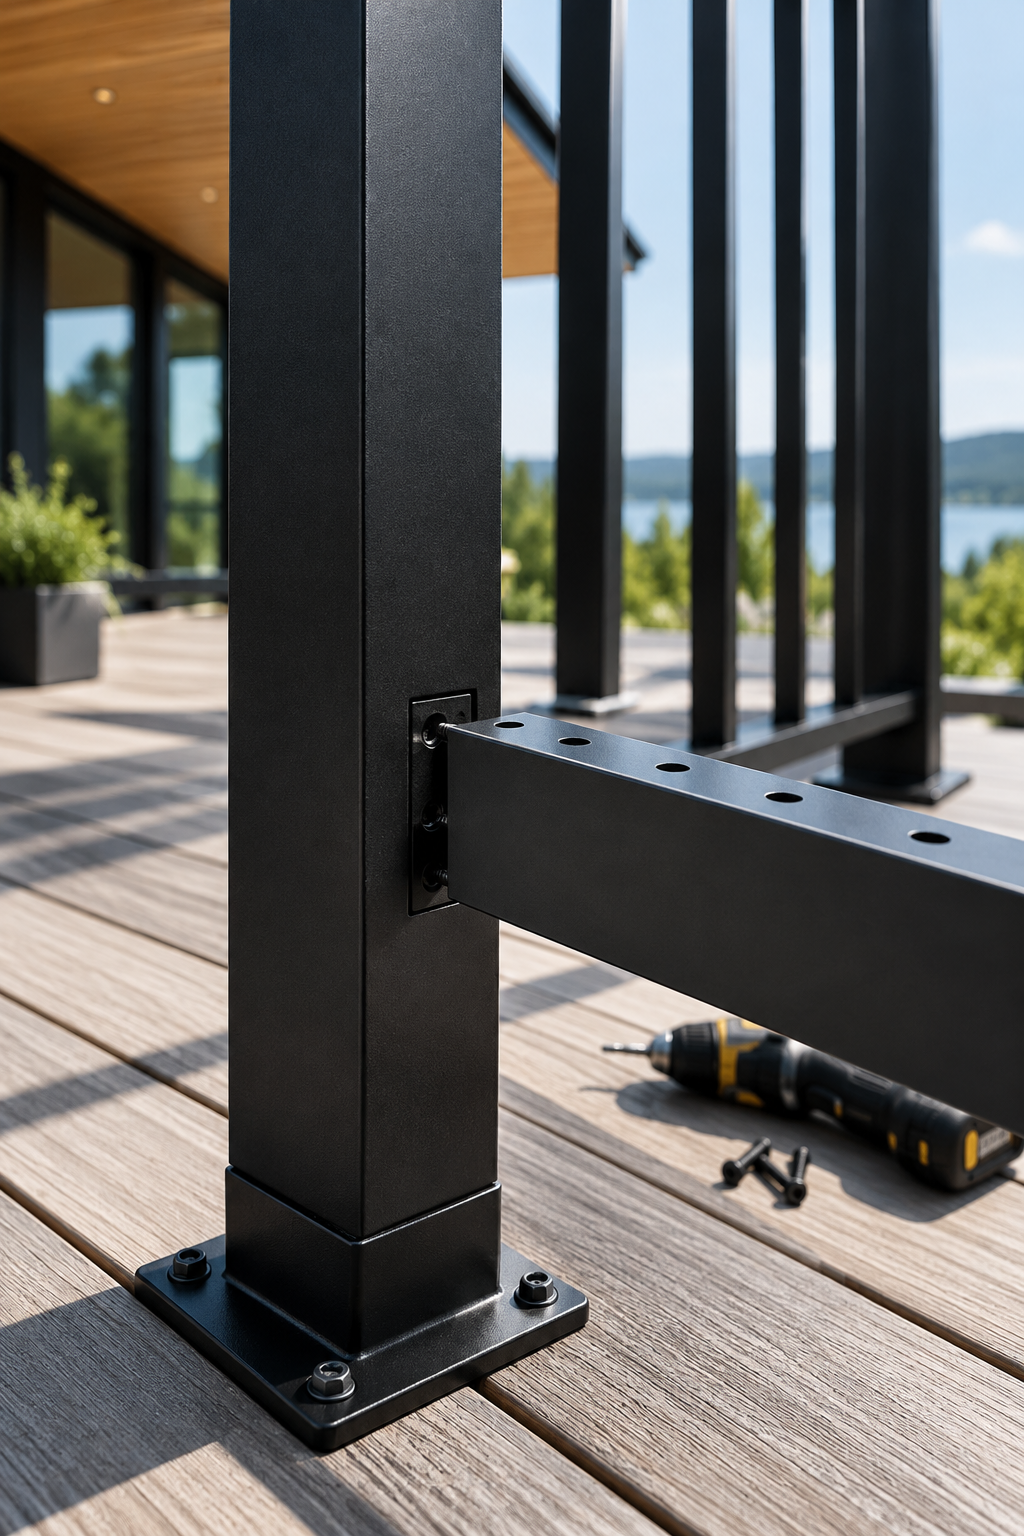
Install rails in the order shown in manufacturer instructions. Keep each run level and tight to the posts.
- Cut bottom rail first
- Fit top rail to hardware
- Check for level & gaps
Fit the Infill
Set spacing from local code. Measure from one end and dry-fit the first and last pieces before fastening.
- Mark baluster positions
- Dry-fit & check gaps
- Fasten & check alignment
Finish Hardware
Use corrosion-resistant fasteners. Seal cut ends. Shake each rail and post by hand before the job is done.
Safety Checklist
- ✓ Posts stay put
- ✓ Rails are tight
- ✓ Hardware is seated
What Changes by Railing Material
The steps stay the same, but the hardware and the cuts differ. Use the table below to see where each material needs extra care.
| Railing Type | What changes in installation | Common mistake to avoid |
|---|---|---|
| Composite | Use specific fasteners and brackets. Drill/cut with manufacturer-recommended bits and blades. | Using generic screws in place of system fasteners. |
| Aluminum | Hardware is matched to the post type. Follow system's exact sequence for brackets and infill. | Mixing hardware from different systems. |
| Wood | Cut and seal every end grain. Use outdoor-rated fasteners suited to the specific wood species. | Leaving cut ends unsealed, which speeds rot. |
Installation steps vary by product. Follow the instructions supplied with your railing system.
A Basic Repair You Can Do With Hand Tools
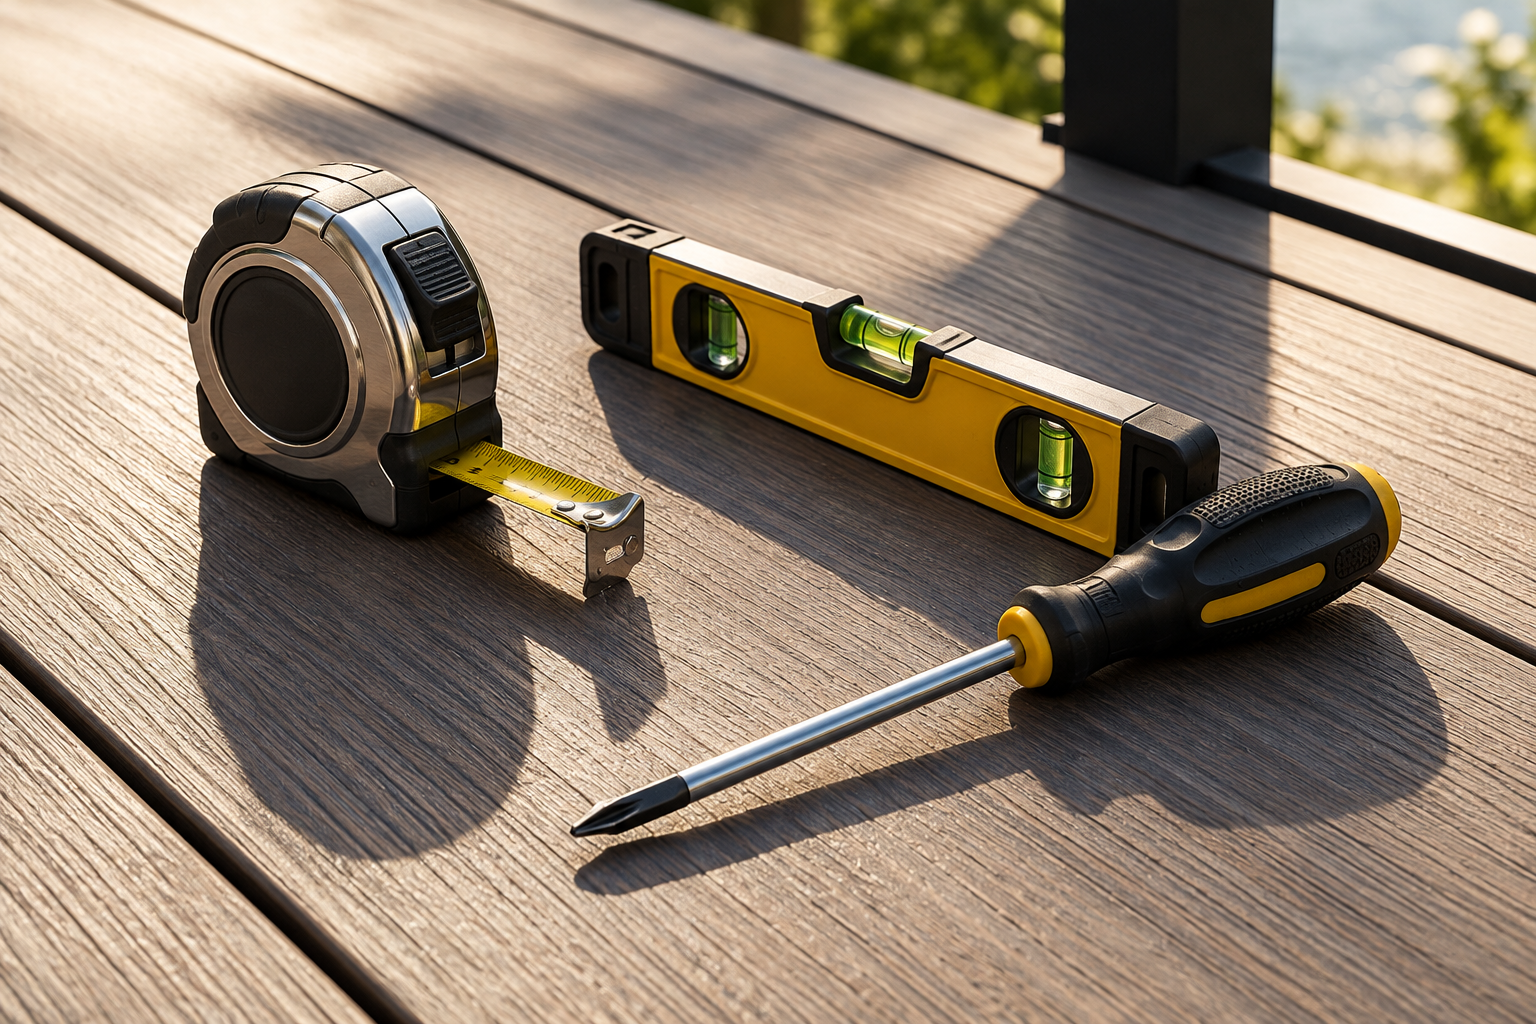
To replace one loose or cracked baluster, or a damaged cap rail, you need a tape measure, a level, a manual screwdriver or drill, and a saw for trimming to length.
When to Call a Licensed Crew
Structural Instability
A post moves when pushed, or the framing under it is soft, split, or rotted. This is a primary safety risk.
Complex Geometry
The railing needs to be moved, added, or changed on a stair run where angles and code requirements are technical.
Legal Requirements
Your city or county requires a permit or inspection for the job. Professionals handle the documentation and liability.
Technical Uncertainty
You cannot confirm height, spacing, or attachment methods with local code. Expert validation is needed to ensure safety.
Expert Deck Building & Installation
Deck Bros builds railings as part of new deck construction and handles design, permitting, and construction for the decks it builds. The crew is licensed, bonded, and insured in Nebraska and Iowa.
Working with Trex, TimberTech, and Fiberon composite decking, and Westbury aluminum railings.

Deck Railing Installation Questions
How high does a deck railing need to be?
Can I add railing to an existing deck?
Is composite railing installed differently from aluminum railing?
Do I need a permit to install a deck railing?
Does Deck Bros install railings on decks it did not build?
Get a Free Estimate for Your Deck
Share your deck size and railing style, and Deck Bros will follow up with a free estimate. The team is licensed, bonded, and insured in Nebraska and Iowa.